

By EAA Chapter 63 Members Building an Emeraude
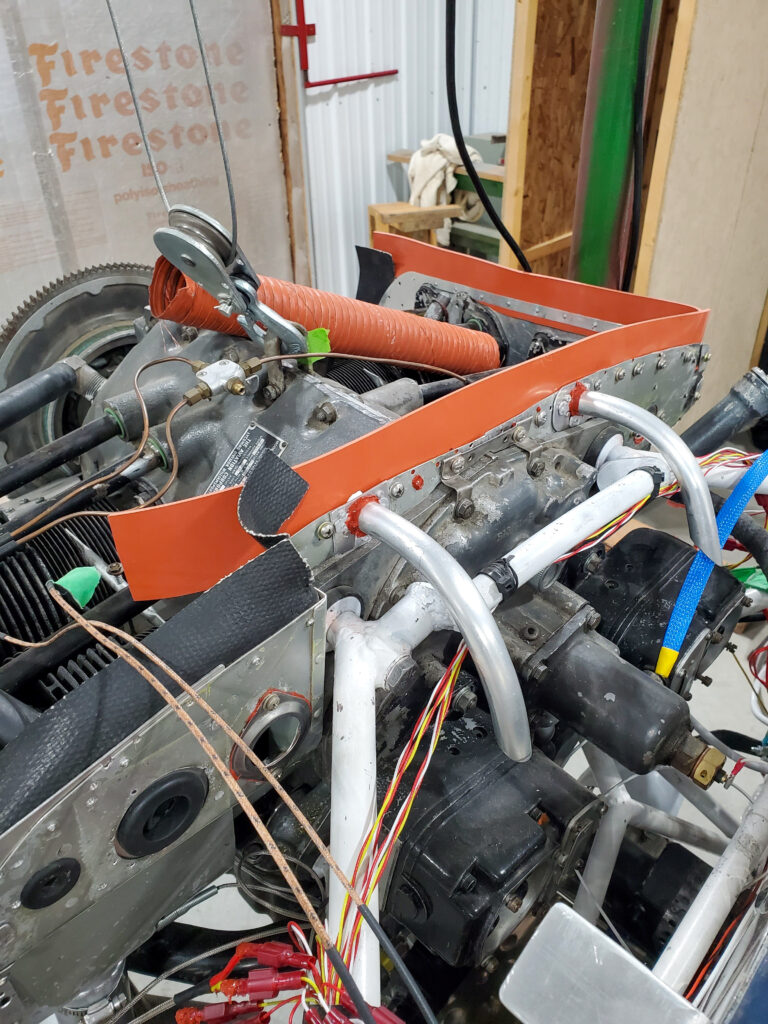
Taking over an abandoned project like the Emeraude means taking over unknown problems. So, you do need to ask yourself before taking on an airplane build such as this, how much do you enjoy problem solving? Are you a mysteries kind of person? Do you really, really like sinking your teeth into long-term projects? If you answered a resounding “YES” to all the above, then jump in. You’ll not only enjoy yourself with a rich and rewarding experience, but you’ll save yourself money over buying a kit or finished aircraft. How much can you save? With luck and patience, and careful selection, you can find truly amazing bargains. Our Emeraude came with wheels, brakes, propellor and spinner, instrument panel with instruments and switches, and a Lycoming O-235-C1. Sounds yummy, but let’s see what it didn’t come with.
One of the first things we did was take inventory. The project arrived with boxes of parts, nuts, bolts, nails (?), instruments, some notes from the original builder, but no plans. Luckily, our airfield was host to two Emeraudes at one time, and all the old timers knew of someone who had a set of plans somewhere. After following dead-end leads for almost two months, I realized that it would be faster to buy plans, but where does one find plans for an airplane designed in 1952? Plans for the Super Emeraude are available through Madame Sylvie Littner in Québec, and I spoke with her on the phone, but she doesn’t have these as they are older. Thanks to the internet, we heard of the Musée Espace Air Passion, in Angers, Loire, France. They have a wonderful collection of aircraft and their website lists plans for several dozen aircraft. My wife and I eventually visited the museum, but that’s another story. We made the recommended donation of 150 euros and a week later, seven days exactly, the disc arrived from France in my mailbox! This was exciting. We immediately discovered that in their infinite efficiency, the museum decided they didn’t need to make separate discs for different versions and upgrades of the Emeraude. They were kind enough to include all versions from the 1952 original to the Super Emeraude as well as the version produced by the Scintex factory in Europe. That works out to about 800 pages. It’s all there and indexed, so that’s a bonus. Of course, plans from France are in French.
Remember those boxes of nuts and bolts? Those turned out to be a blessing and a curse, as we started to identify aviation hardware from the stuff that might have been swept up off the shop floor. Our resources at the MDRA (Minister’s Designate – Recreational Aviation) were able to provide us with some paperwork that showed the last inspection before closing the wing. They included the inspector’s comments which gave us some confidence in the quality of workmanship. We soon realized that we did not need to use everything included with this 1991 build. The original builder, Mr. Anton Kaspar did a terrific job of the wood framework and covering, and apparently included the best technology available at the time, but we opted to upgrade the instrument panel with a modern EFIS from Grand Rapids Technologies. Given that we have five members of EAA Chapter 63 who are splitting the costs, we felt we could afford to replace a few things.
Replacing those few things meant replacing the entire instrument panel. Every time we made decisions like this, we did realize that it meant more time required to design, plan, and fabricate the needed parts. Once we decided where the radio was going to be mounted, we needed to relocate the instrument panel. The problem was the fuel tank was mounted in front of the panel just like in a Cub. That meant more decisions. Some Emeraudes get around this by mounting all nav/com radios and transponder on a centre console. This takes away knee room, and at least one Emeraude owner decided to take his centre console out. Another option is to move the radios to either end of the fuel tank. There is space between the sides of the fuel tank and the sides of the fuselage where a radio can easily fit. Of course, this means losing the central location where either seat can reach the radios. We noticed a photo of a panel produced by students at Aerodyne Cachan in Paris that appeared to have the panel moved aft toward the pilot. Our calculations showed that we could make this work with only a small adjustment needed.
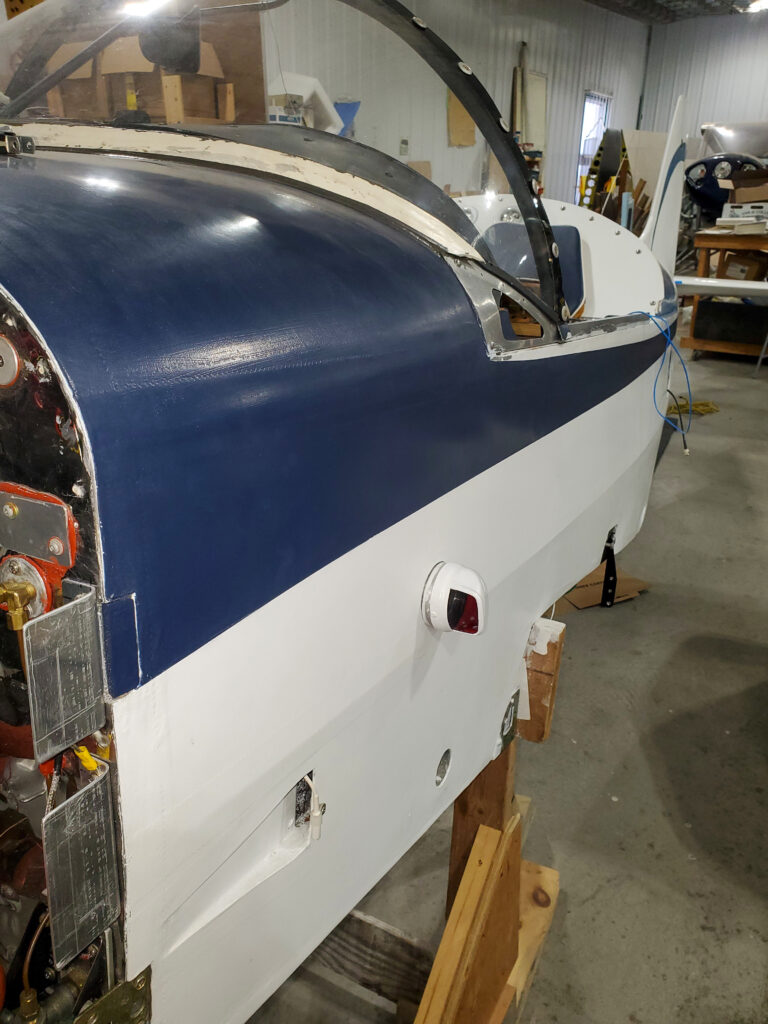
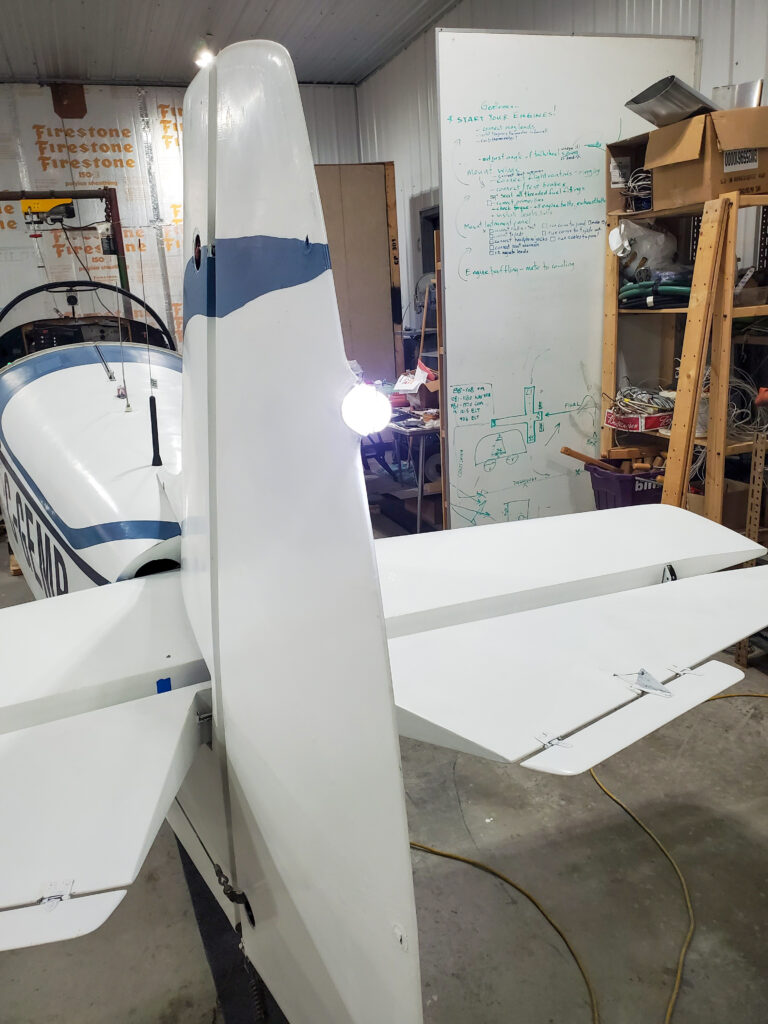
Paint jobs can cost a bundle. Ask anyone flying around in an RV and you’ll hear about paint jobs that cost more than my last used car. We looked at several discussions as well as websites showing their acrylic latex techniques, and we realized that money could be saved here as well. If you want to start an argument with amateur builders, just mention latex paint, but our reasoning started with the fact that we have a fabric covered aircraft. Fabric moves, it stretches and bends and hailstones bounce off. Latex is famously flexible, as well as durable, UV blocking (we are using exterior paint), available in any colour you like, and it’s inexpensive to paint it yourself. We got to work with brushes, rollers, and lots and lots of wet-dry sandpaper, and we are very satisfied with the results. After polishing, the finish is lustrous and looks as good as any enamel paint job. Touch ups are reportedly easy to do, but none have been needed yet.
The Emeraude plans show a simple-curved windscreen, but we had a blown one that looked to be in gorgeous condition. This gets mounted to a steel tube arch via 20 screws. Problem was, some of these screws were not catching the arch. Once we took the windscreen off, we could see why. Our screws were trying to grip holes in the arch that had been tapped, but the tubing for the arch was thin enough to only allow 1 or 1.5 threads. We decided this wasn’t strong enough and thus began another project: drilling out all the holes, installing rivnuts, finding new screws to fit along with tapered washers to make the new flathead screws look great, and finally checking to make sure that none of the holes we drilled out drifted at all. Lesson learned was that anything can be solved with time, and with the help of our wonderful team at EAA Chapter 63. I have to mention Tom Stoyka, EAA 402921, who found this project, recommended we buy it for the chapter, and donated loads of his time and his spares including the rivnuts and the rivnut tool to install them!
We are following the EAA’s flying club model where our EAA chapter will turn over the finished airplane to an arm’s-length flying club that will own and manage the aircraft. There are a few different ways to set this up, but it really makes sense. One owner, flying on weekends, if the weather cooperates is not going to keep an aircraft flying more than 50 hours per year, even less on average. That leaves the poor airplane sitting around collecting dust and mice the vast majority of the time. By adopting a shared ownership model, we have five investors who have put up time in the project and funds to keep it going. Once we have a flying airplane, we’ll see if we are happy with the arrangement and may feel we can open it up to two or three more shareholders, but we feel five to eight members should be just about right.
Learn how members of your chapter can start their own flying club with EAA’s Flying Club Manual.